Understanding Drywall Painting Fundamentals
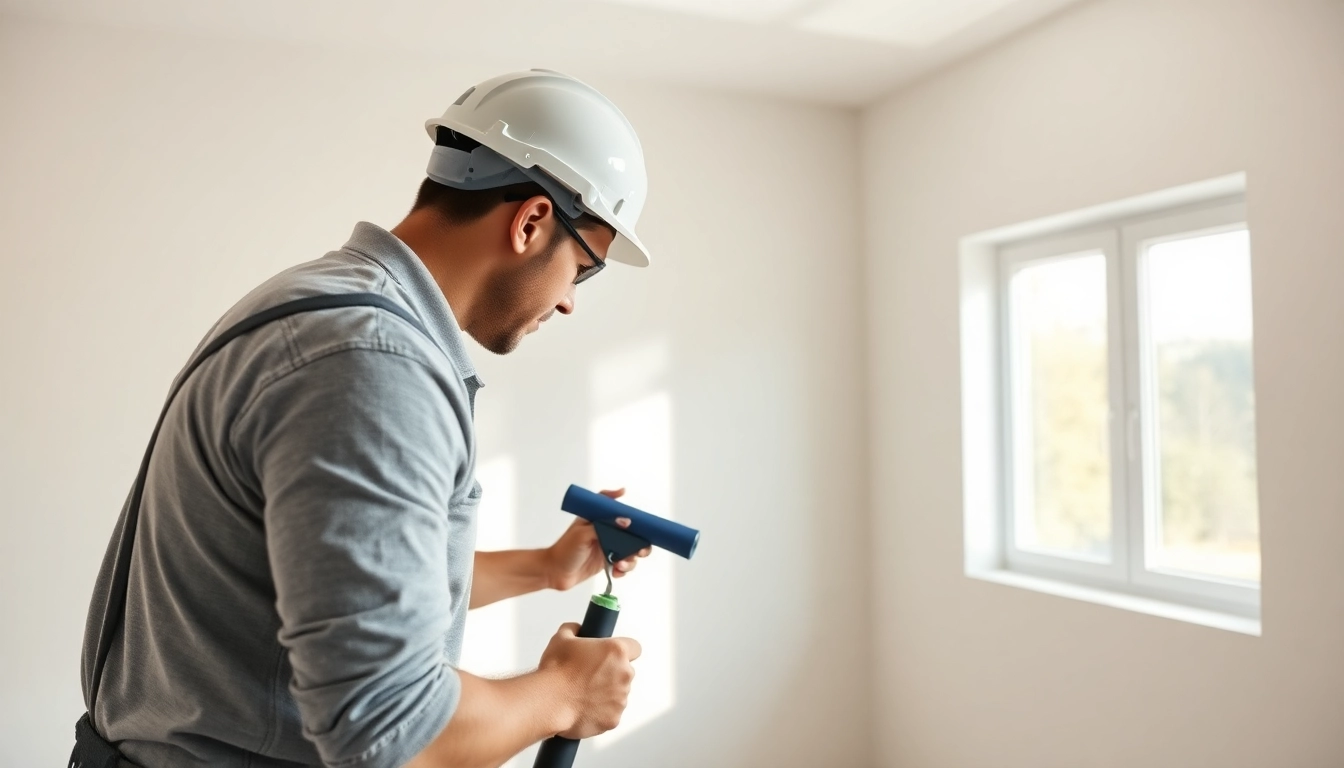
Drywall painting is an essential skill for homeowners and DIY enthusiasts alike. Whether you’re renovating an existing space or finishing new construction, understanding the nuances of drywall painting can significantly impact the quality and longevity of your walls. Let’s explore the core concepts of drywall painting to equip you with the knowledge necessary for superior results.
What is Drywall Painting?
Drywall painting refers to the process of applying paint to drywall surfaces, which are typically made from gypsum plaster sandwiched between two sheets of heavy paper. The term not only includes the actual application of paint but also encompasses the preparation, priming, and finishing stages that lead to a professional-looking wall. A well-executed drywall painting project should enhance the aesthetic appeal of a space while also providing protection to the drywall itself.
Importance of Proper Preparation
Preparation is paramount in achieving the best results when painting drywall. Skipping this step can lead to uneven surfaces, peeling paint, and a lackluster finish. Proper preparation includes cleaning, sanding, and priming the drywall, which helps to create a smooth surface for paint application. This process not only ensures better adhesion of paint but also enhances the durability and vibrancy of the paint finish.
Tools Required for Drywall Painting
Having the right tools can simplify the drywall painting process. Essential tools include:
- Sanding Blocks or Sanding Tools: For smoothing out joints and surface imperfections.
- Paint Roller and Tray: For efficient application of paint on large surfaces.
- Paint Brushes: For edging and small areas that require precision work.
- Drop Cloths: To protect floors and furniture from paint splatters.
- Primer: A key component that aids in paint adhesion.
- Masking Tape: For clean edges and to protect areas not to be painted.
- Putty Knife: For applying joint compound to repair any imperfections before painting.
Essential Steps for Drywall Painting
Cleaning and Prepping the Surface
Before you begin painting, the surface of the drywall must be thoroughly cleaned and prepped. Dust and debris can settle on the surface, creating issues with paint adhesion and finish. Use a vacuum cleaner with a brush attachment to remove dust, followed by wiping the walls with a damp cloth. Any dents or holes should be repaired with joint compound, and those areas should be sanded smooth before priming.
Applying Primer: Why and How
Applying a coat of primer is a critical step in the drywall painting process, especially if you’re working with new drywall or making significant color changes. Primer serves multiple purposes—it seals the surface, creating an even base for your paint, and helps enhance color fidelity and coverage. Here’s how to apply primer:
- Choose an appropriate primer. A high-quality latex primer is typically recommended for drywall.
- Using a roller, apply primer in a consistent manner, covering the entire surface. Brush around edges for detailed areas.
- Allow the primer to dry completely, usually about 1-2 hours depending on humidity and temperature.
- Inspect for any imperfections and sand lightly if necessary.
Choosing the Right Paint for Drywall
Selecting the correct paint is vital for achieving desired results. The most popular paint options for drywall include:
- Acrylic Paint: Offers excellent adhesion and flexibility, making it a great choice for drywall.
- Latex Paint: Known for its ease of use and quick drying time, it is also water-soluble and environmentally friendly.
- Flat, Eggshell, Satin, or Semi-Gloss Finishes: Each finish has its own level of sheen which affects the overall result. Flat finishes are good for hiding imperfections, while glossier finishes are more durable and easier to clean.
Common Challenges in Drywall Painting
Addressing Uneven Surfaces
Uneven surfaces can significantly impair the final appearance of your painted drywall. To address this, use a combination of joint compound and sanding techniques to level out any spots that stand out. Many painters recommend using a feathering technique during joint compound application, which helps to minimize visible seams.
Managing Paint Odor and Cleanup
Many homeowners find the smell of paint to be overwhelming. To mitigate odors, ensure proper ventilation in the painting area, using fans and opening windows. For cleanup, it’s important to wash brushes and rollers with warm soapy water immediately after use, particularly if you used latex paint. Dispose of any used materials like rags or drop cloths responsibly to avoid potential fire hazards.
Dealing with Humidity and Temperature Issues
Humidity and temperature can affect the drying time and appearance of your paint. Ideally, drywall painting should occur in a controlled environment. If it’s too humid or cold, the paint may not adhere or cure properly. As a rule of thumb, aim for temperatures between 60-85°F with a humidity level below 70% for optimal results.
Advanced Techniques for Professional Quality Results
Using Spray Paint vs. Rollers for Drywall
For those looking for professional-quality results, using a paint sprayer can save time and provide a flawless finish; however, it requires more setup and safety precautions than traditional rollers. Rollers are ideal for textured walls and can also create a smooth finish when used correctly. When deciding between the two, consider the project size, wall texture, and your skill level.
Combining Colors and Finishes
Combining different colors and finishes can elevate your decorating style. For instance, using a gloss finish on trim and satin or eggshell finish on walls creates a stunning contrast. Be mindful of color harmony; consult color wheels or online palettes to ensure that the colors selected complement each other well. Test your chosen colors in small patches on your walls to see how they look in different lighting conditions.
Creating Texture with Paint on Drywall
Texture can add depth and character to flat surfaces. Various techniques, such as sponging, rag rolling, or using textured paint, can help you achieve unique finishes. If trying for a heavily textured look, experimenting with drywall compound mixed with paint can mimic stucco or other decorative styles.
Maintenance and Care Post-Painting
Preventing Peeling and Damage
After the painting process, it’s essential to take care of your newly painted walls to prevent peeling and damage. Avoid using harsh chemicals or abrasive scrubbing pads while cleaning. Instead, opt for a soft cloth and mild detergent. Address any moisture issues immediately, as excessive water exposure can cause paint to peel or blister over time.
Touch-Up Tips for Long-Lasting Results
Touch-ups are inevitable in high-traffic areas or homes with children and pets. For effective touch-ups, keep leftover paint from your project, as matching the original paint can be difficult. Use a small brush for precise application and blend the new paint with the existing area by feathering the edges.
When to Call in Professionals
While many DIYers can successfully paint drywall, some situations are best left to the professionals. If your walls have severe flaws, moisture damage, or are in challenging locations, hiring a professional ensures the job is done right. Additionally, professional painters often have access to equipment and products that can further enhance the longevity and quality of your painting project.


